Got a new bluetooth keyboard for the Kindle. Just testing. Seems to work just fine.
About
-
Recent Posts
Archives
Categories
Got a new bluetooth keyboard for the Kindle. Just testing. Seems to work just fine.
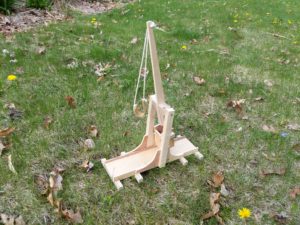
A project with the kiddos.
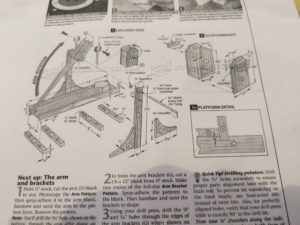
We have been working on this through the winter, but I decided it was time to finish up in time for spring testing.
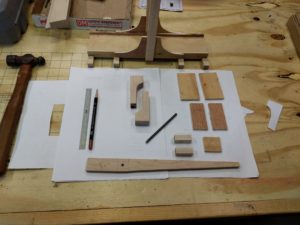
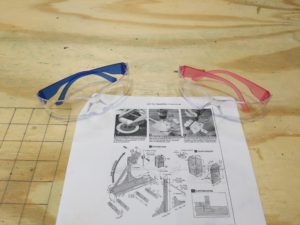
Of course the first rule in the shop is safety glasses and shoes for everyone!
We found that the weight of the projectile is critical; a 23 gram marble seems to be the ticket, an 18 gram marble just does not cut it. No wonder folks killed their own armies so often in the 13 hundreds!
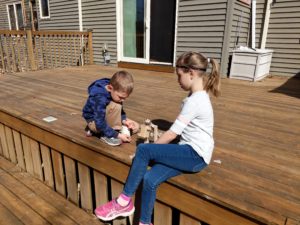
Just ordered a bucket of toy soldiers. Let’s see whose army survives this awesome firepower!
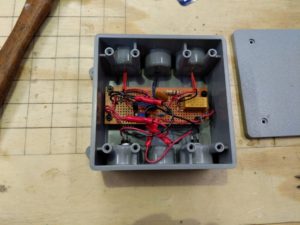
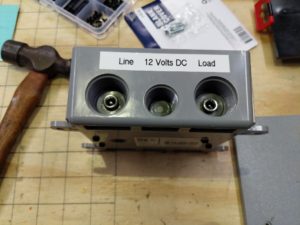
The power supply/photo switch for the deck “foot lights” failed so I built a new photo switch that will initially run from an LED power supply until I wire it for the solar plant. I don’t particularly like this circuit as it sinks more current when it is off than when it is on. It’s warming up a 2 watt resistor pretty aggressively. Maybe I’ll redesign it so that off is actually off.
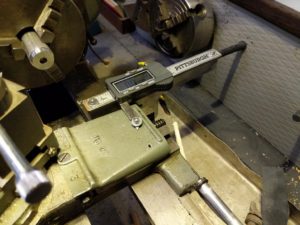
Completed a couple of tool holders and an indicator holder. The pic also shows the caliper used for the X-axis DRO setup.
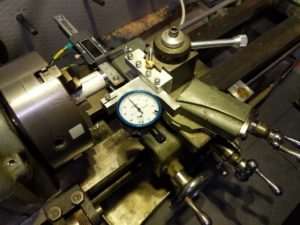
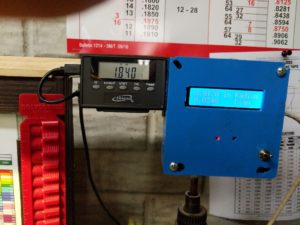
Used a $10 Harbor Freight digital caliper to build an X Axis DRO for the Atlas 6 inch lathe.
It’s based on an Arduino project called “Caliper Boost” by Rick Sparber – http://rick.sparber.org/ –
He was trying to improve the accuracy of cheap calipers, but his code provides the basis for reading data from the HF caliper. I just needed an absolute (radius) and doubled (diameter) readout for the lathe cross slide.
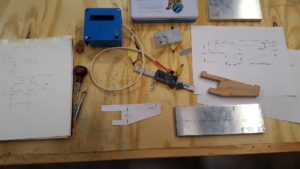
Making the frame was the biggest milling project yet. It involved a dramatic crash which led to a fun filled hour of getting everything re-aligned. Not recommended.
WyzeCams are inexpensive internet enabled webcams. They are, in theory, for indoor use only. I built enclosures so that they should survive outside. I can have one watch the river and the other the front yard. View-able on the smart phone, and with some side loading, the Kindle and the ReMix OS on the Pine64 computer.
Machined some bushings for gimbals.
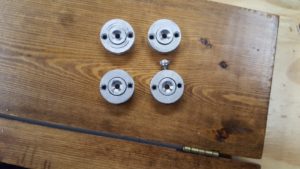
Plywood case and mounting
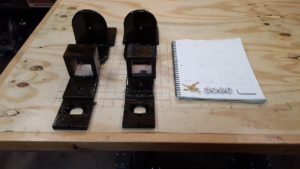
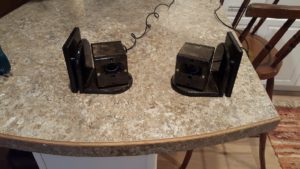
Now to mount them outside – maybe when it’s a bit warmer.
Chris gave me this really cool soldering iron for Christmas. It runs open source software (!) and there is quite the cult, er, community that has grown up around it.
I’ve already upgraded the software to the most popular open source contribution, which was so good that I actually sent the developer five bucks (well five bucks AUS which is closer to four USD).
I decided to make it into a full soldering station. I found these neat panel indicators that are also voltmeters. Kinda pointless, but they look cool. Note the OLED on the iron itself.
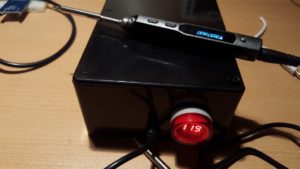
Here’s the guts. Nothing really other than the power brick, a switch, and the panel indicator
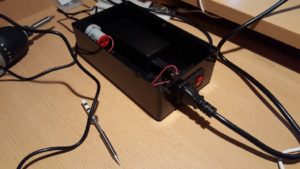
Now I’m machining a holder for the iron. It will mount on top of the project box, and, I hope, not melt it. the holder is milled from a chunk of aluminum rod, and the base will be an aluminum block. I think I will have an air gap between the holder and the holder base, so not much heat will transfer to the base. I think.
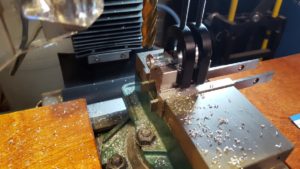
Here is the holder. The base will have holes to hold the alternate tip and the little hex key that’s for changing tips
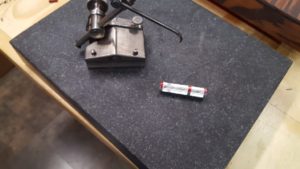
The iron holder, finished.
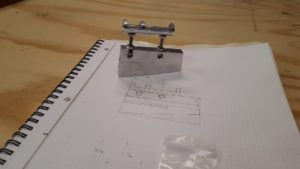
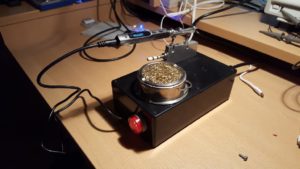
And the completed project.
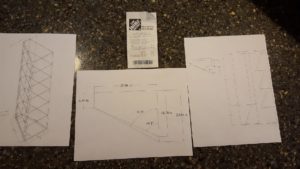
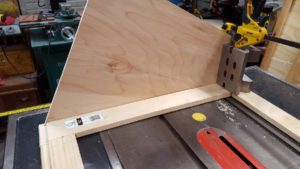
Here’s the cabinet project. We’re building a cabinet to fit a specific space in a small bathroom. It needs to be angled to fit behind the door.
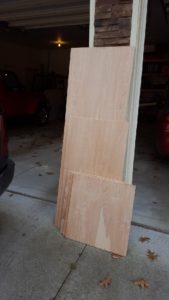
The rough cut birch plywood
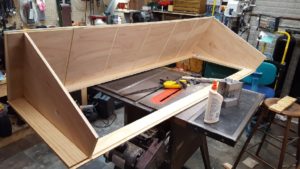
Gluing up the frame and shelves. Pine front frame.
The back (and the doors) are bead board.
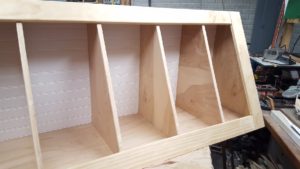
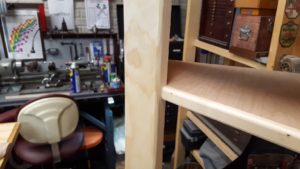
This is the first attempt at the shelf nosing. Too thick, so it got knocked off and replaced.
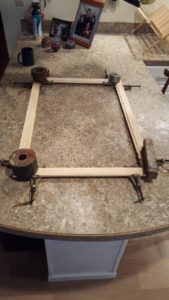
Gluing up the door frames – trying to keep them flat.
After inserting the door panels and mounting the hardware, done!
Oh, also built a plinth to raise it above the baseboards in the room.
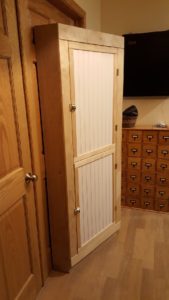
Started around the first of December, 2017. Material costs about $110. Maybe 15 or 20 hours build time.
The fence slipped when I was cutting the rabbit for the back of Jay Lynn’s cabinet. If this was going to be a natural finish I’d have to replace the piece, but since it will be painted, I think I can fix it.
It started with a groove and then slipped to the front of the board
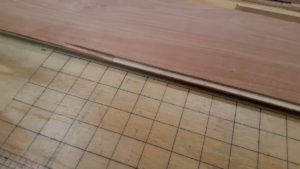
We can fill in the groove with a little spline
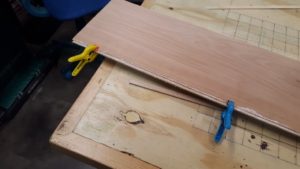
and then glue a filler strip to the damage on the face
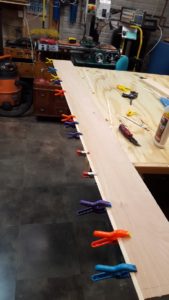
after this sets, we can trim, fill and sand. With paint it should be invisible – I hope.
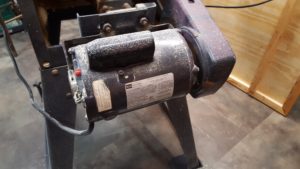
After ordering a new starting capacitor it occurred to me that it could be as simple as a stuck centrifugal switch. Sure enough after removing the belt and keeping track of all my fingers, a quick spin was all it took. Back in business!
