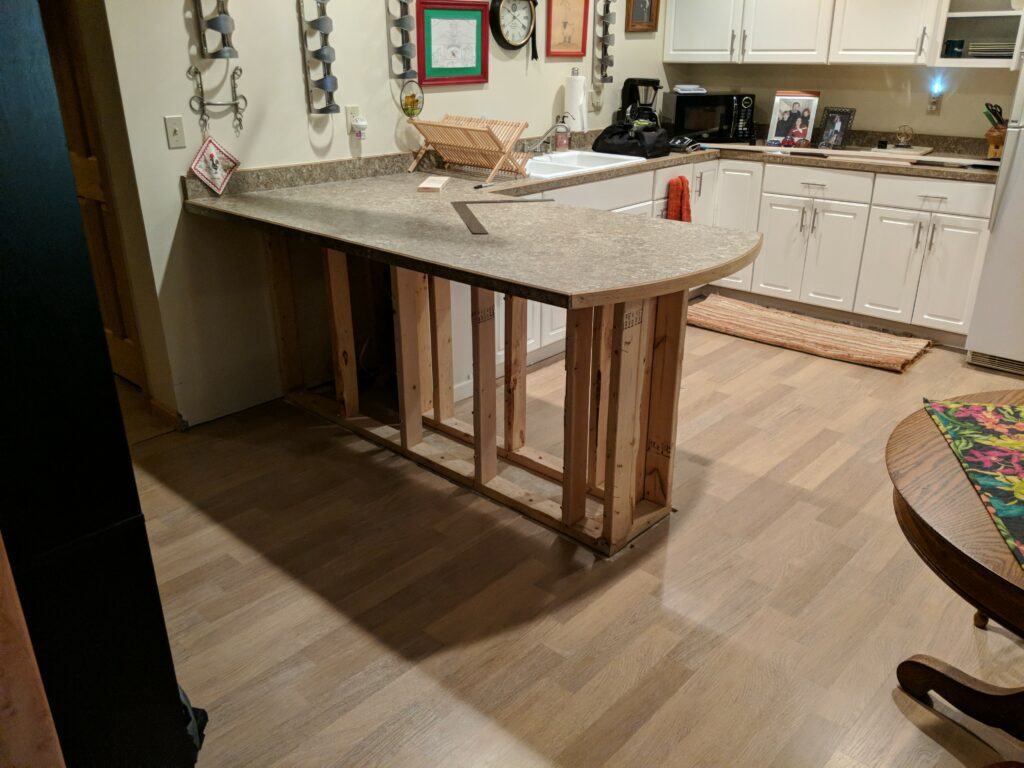
We had, in the lower level of our house, a proto–kitchen; space that was planned as a kitchen, but never quite completed. It included a thrust counter, probably planned as eating space. Since the space was never finished, this counter was a waste of space.
Counter with skirting removed
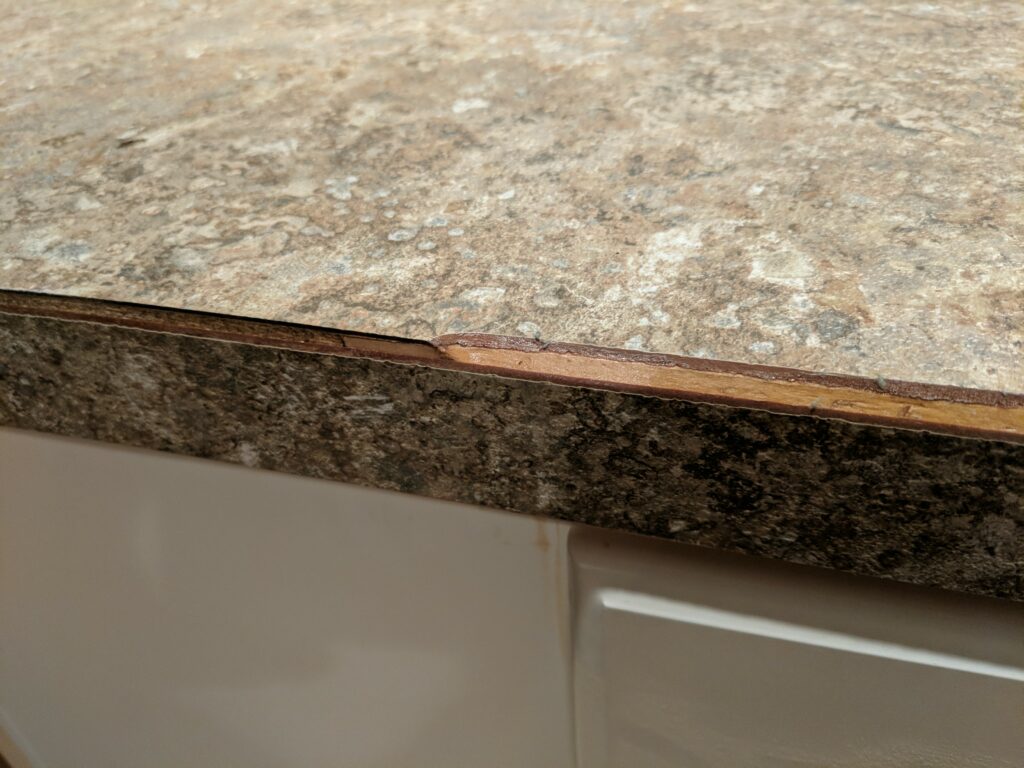
Time to make it go away. The trick will be cutting through the Formica top without making a mess, and refinishing the raw edge. I was able to salvage some of the edging from that part to be discarded. A little heat gun and scraper work got it free without damage.
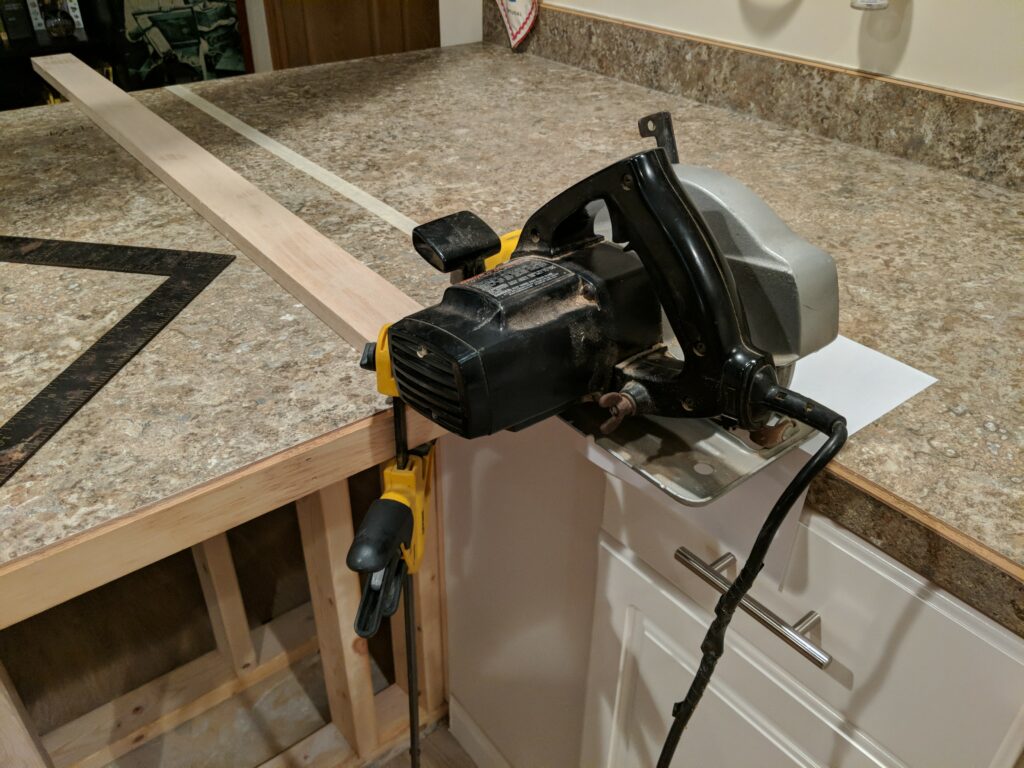
Next step was setting up for the cut.
Setting up the cutThe Cut
It went pretty well, except that i had hoped to avoid scuffing the edging. But I salvaged plenty, so I just had to cut it back a bit more.
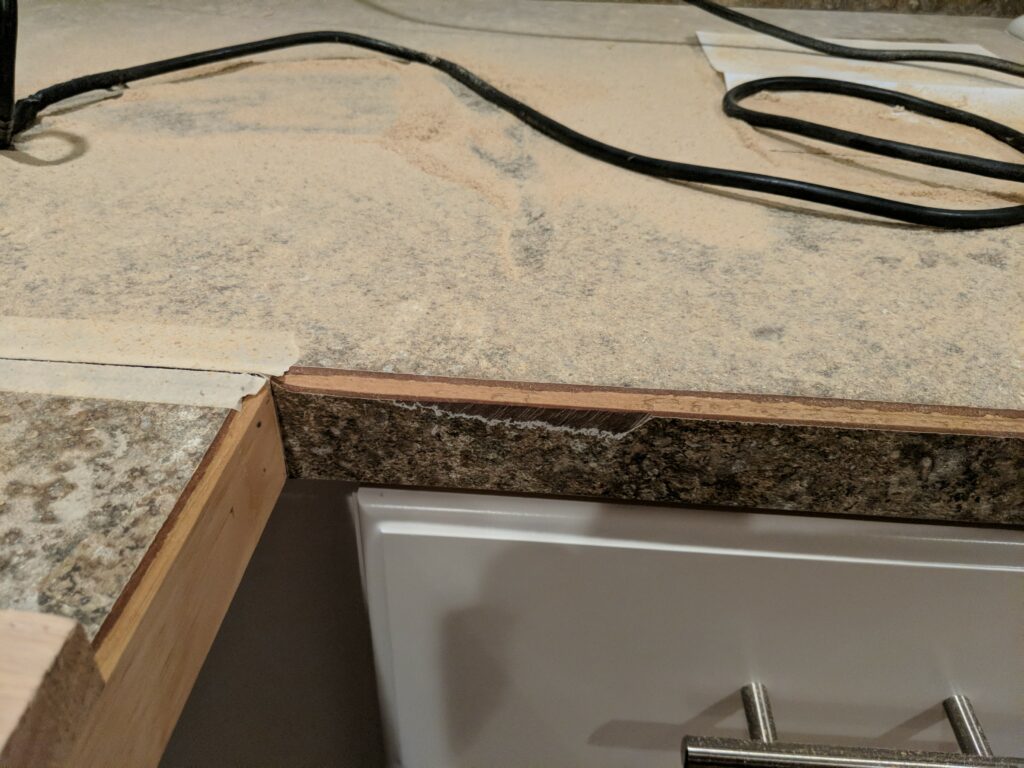
Edge prepared
Used a belt sander to get the raw edge in plane with the existing edge
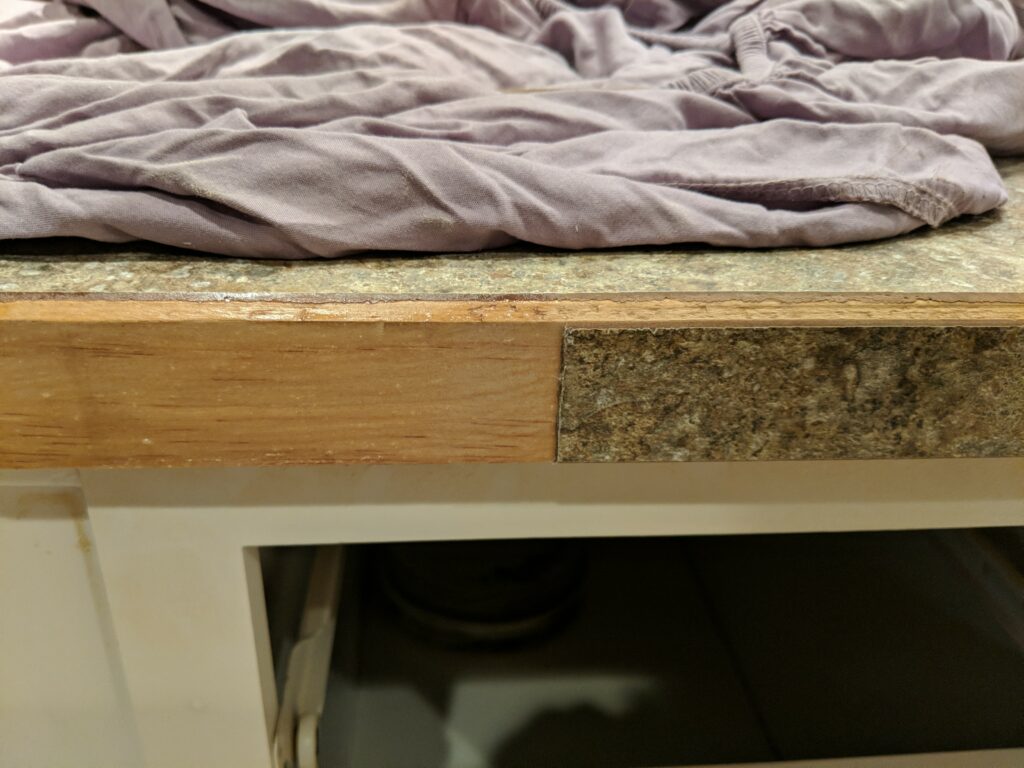
Edging in place
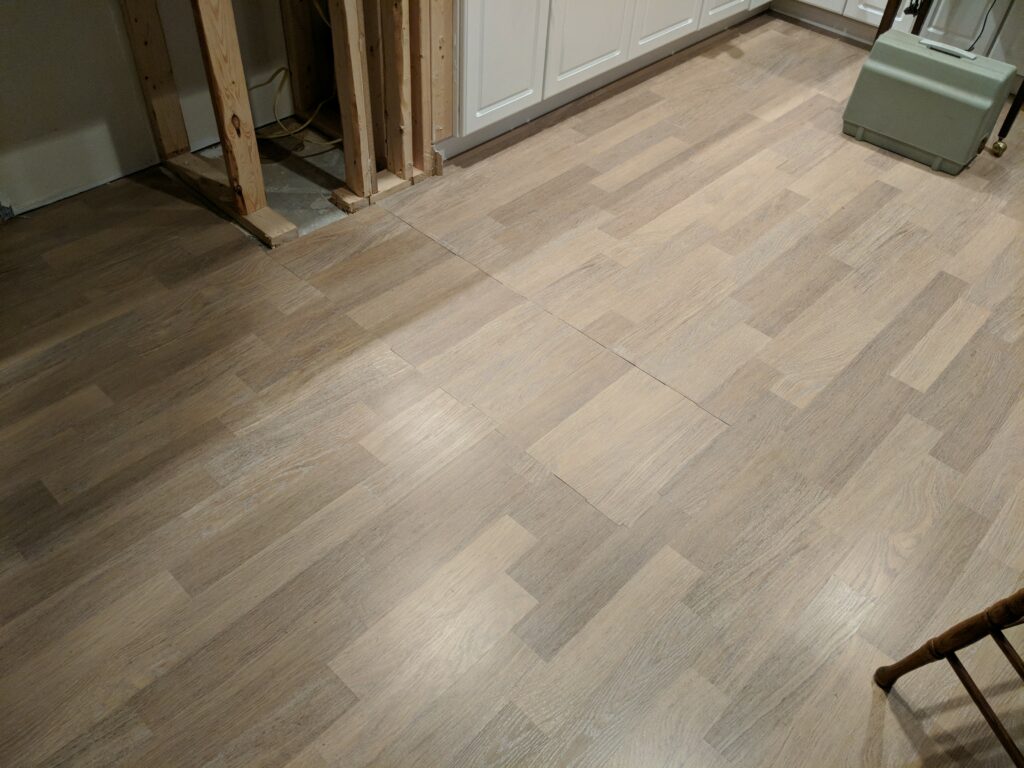
Used a 45 degree router to match the top edge. Had to fix the floor. I did not do it the “right” way by pulling up and re-laying the existing floor. Just used some of the laminate material to fill the space and level it out. It will be mostly covered with a rug.
Floor patched
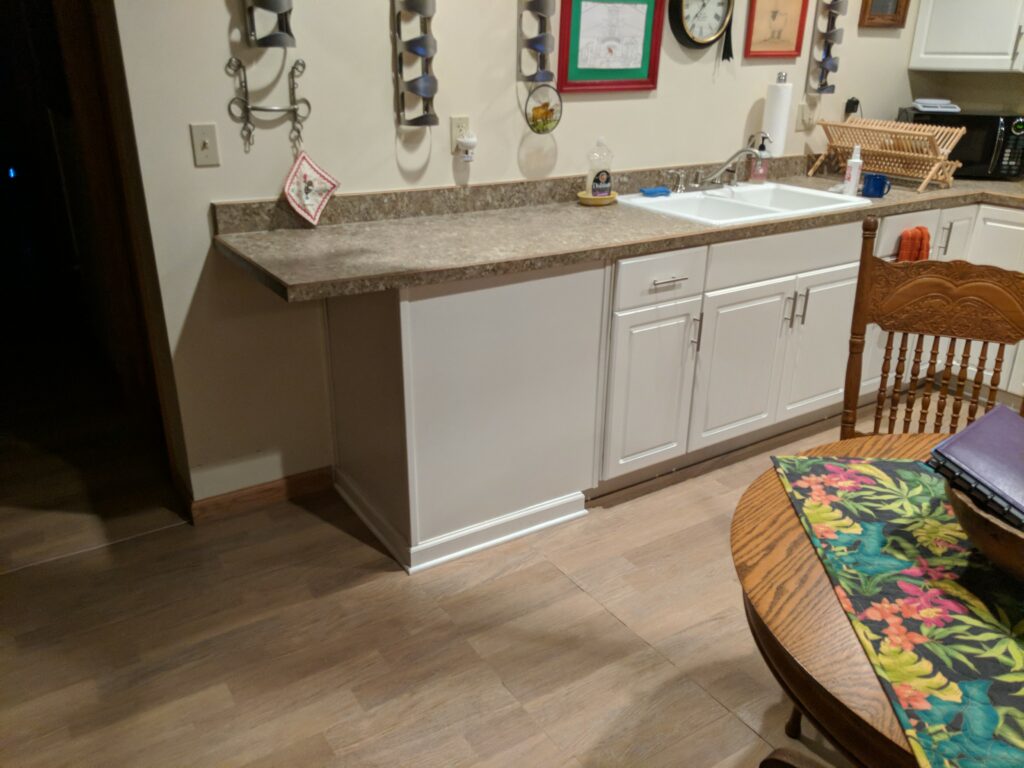
Last step, close it in. Could have added more cabinet space, I suppose. Maybe another time.
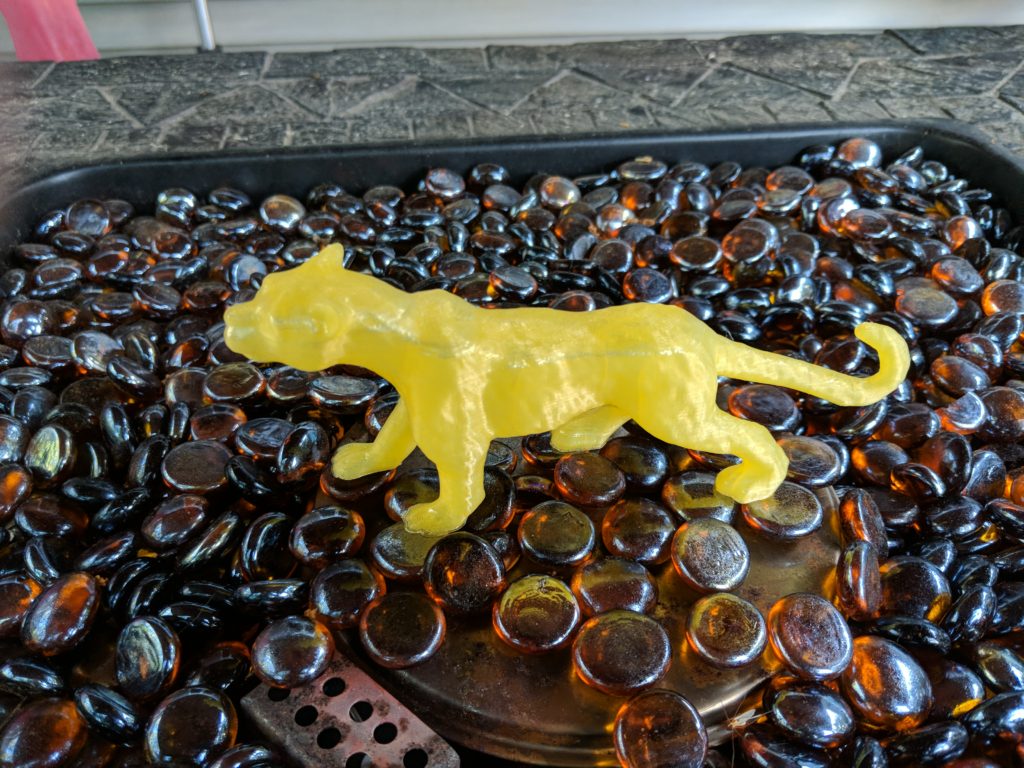
I gave each kiddo a choice of 3-D print. Collin choose a cheetah – that worked out in a couple of tries.
Maddy wanted a horse – First try – print vertical – as downloaded.
Looks like the slicer missed support for one of the front legs. But, we also had a power hit in the middle of the print. Looks like a Star Trek transporter failure.
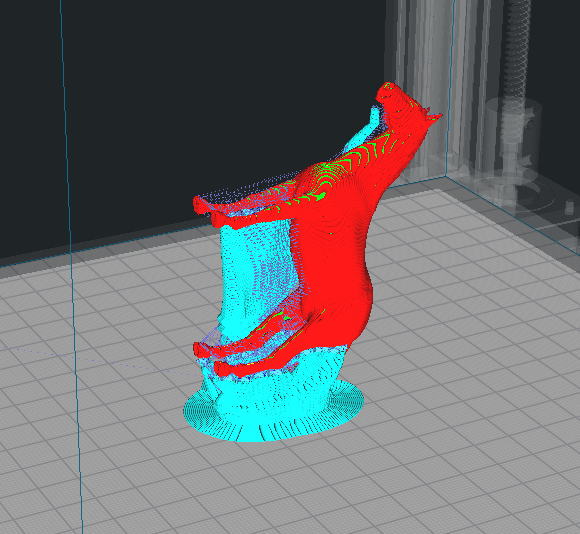
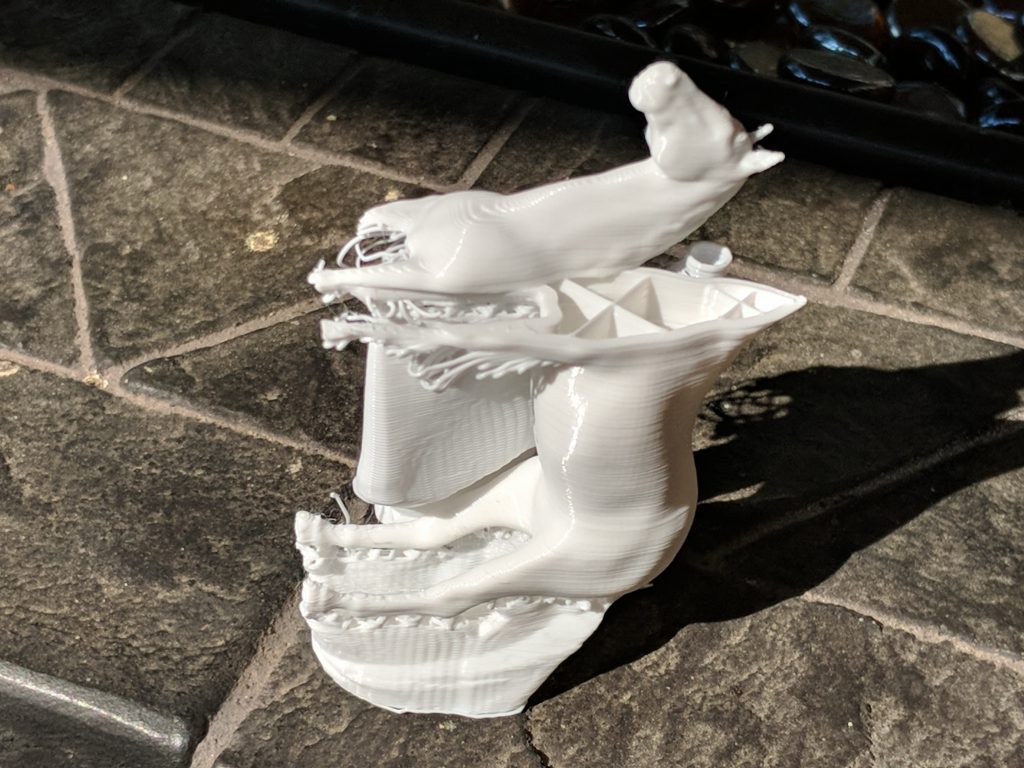
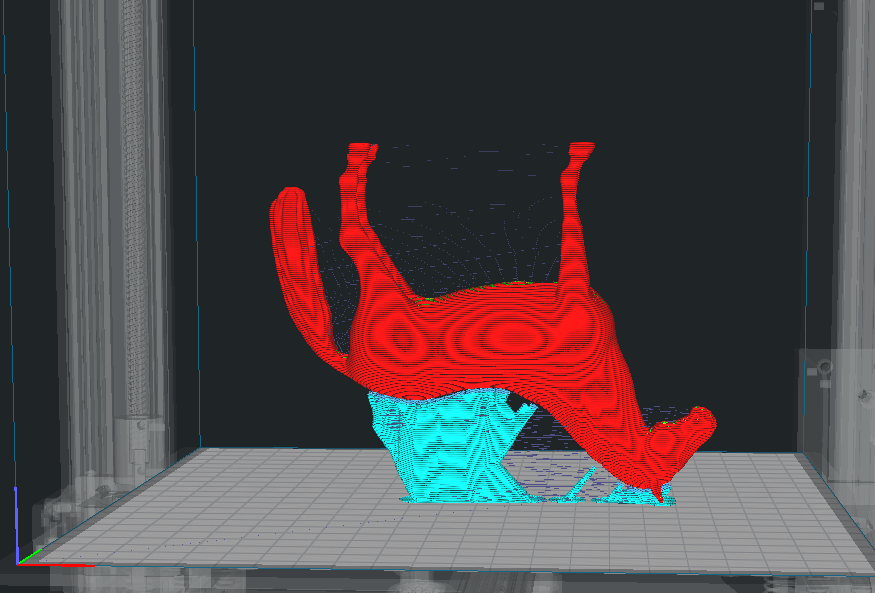
Next I tried standing. The slicer would not generate tree support for the head, so I went with traditional support.
Almost worked, but the tail and one leg got kicked over.
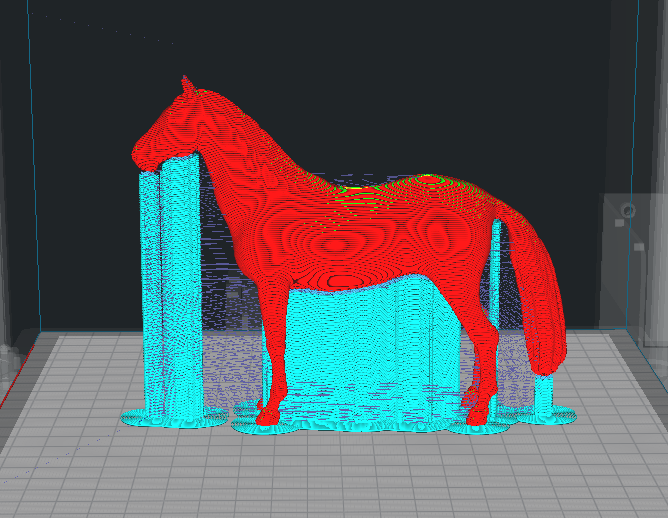
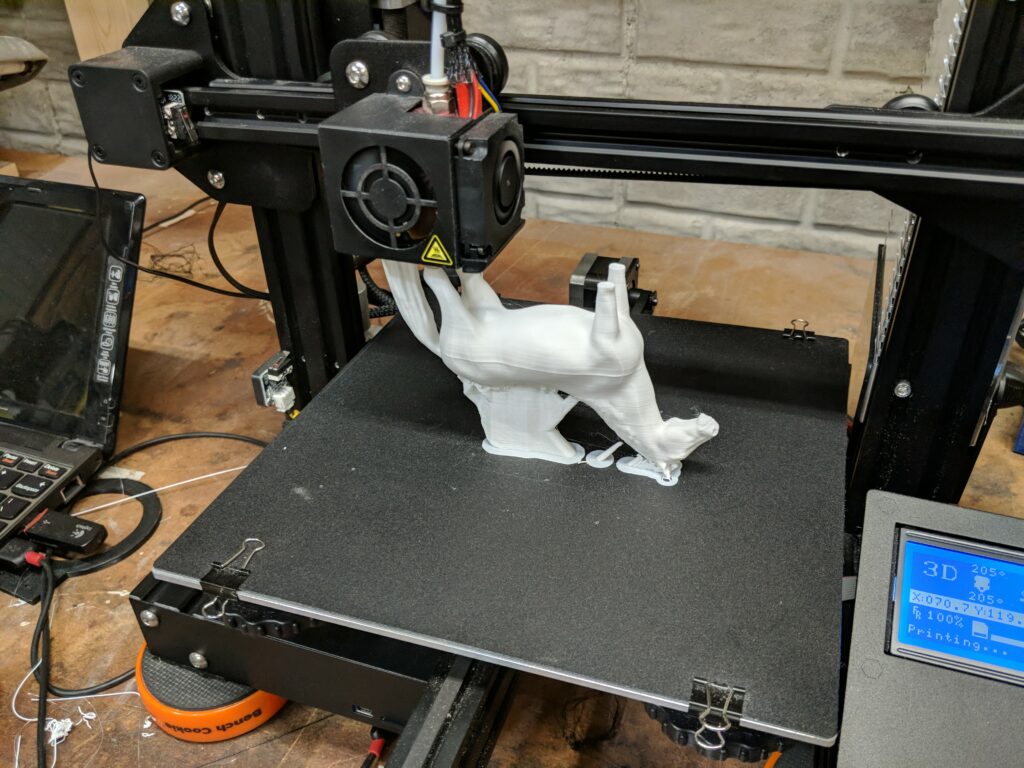
Next try – inverted.
Support looks reasonable
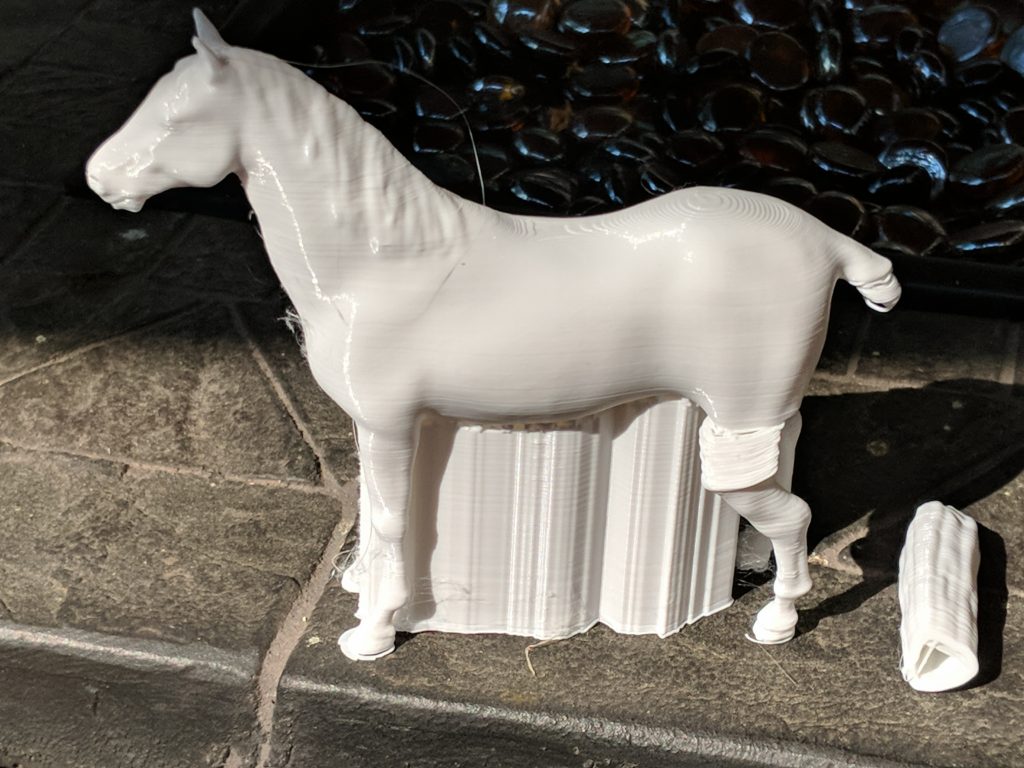
This one looks like it might work. Actually lost power during the print, but was able to resume. My fault – I was naughty and the ground fault tripped. If the skinny legs print successfully, we are home and dry.
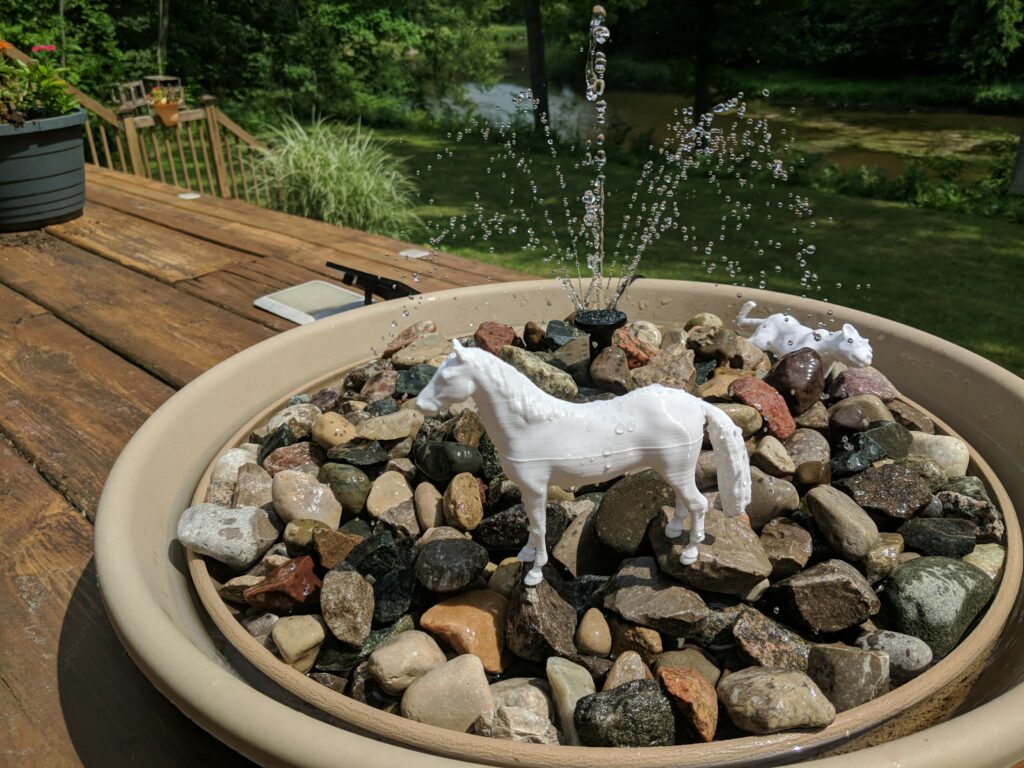
You can see the “water line” where the print resumed.
And . . . Success! The “water line” could be sanded away, otherwise, looking pretty good.
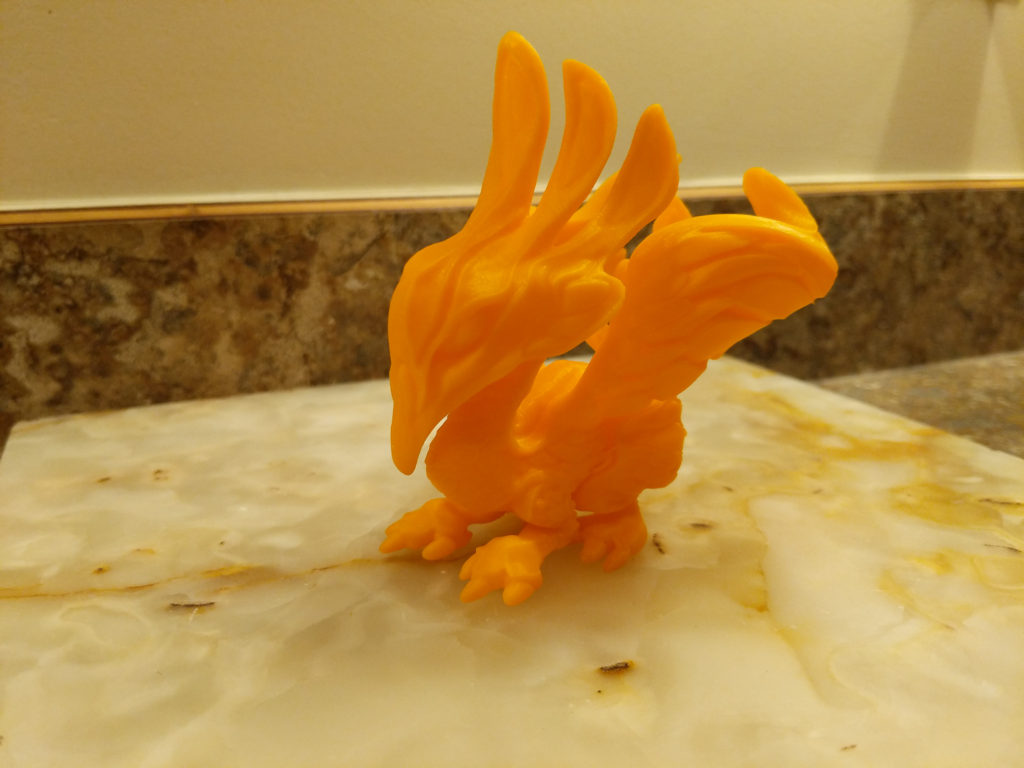
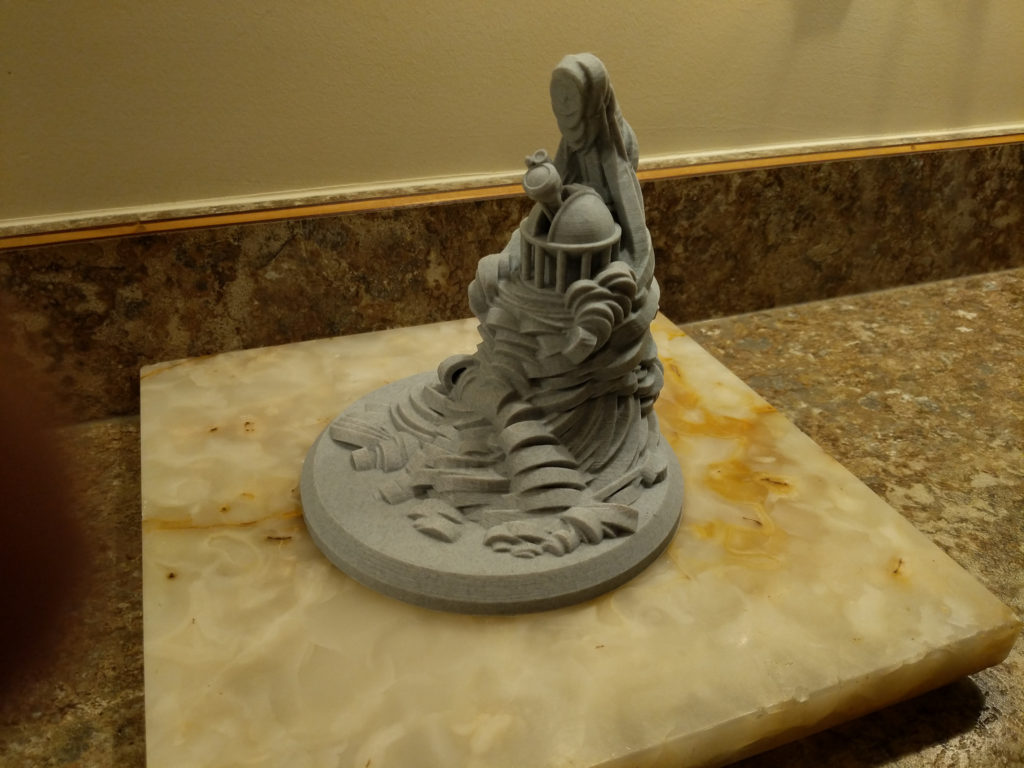
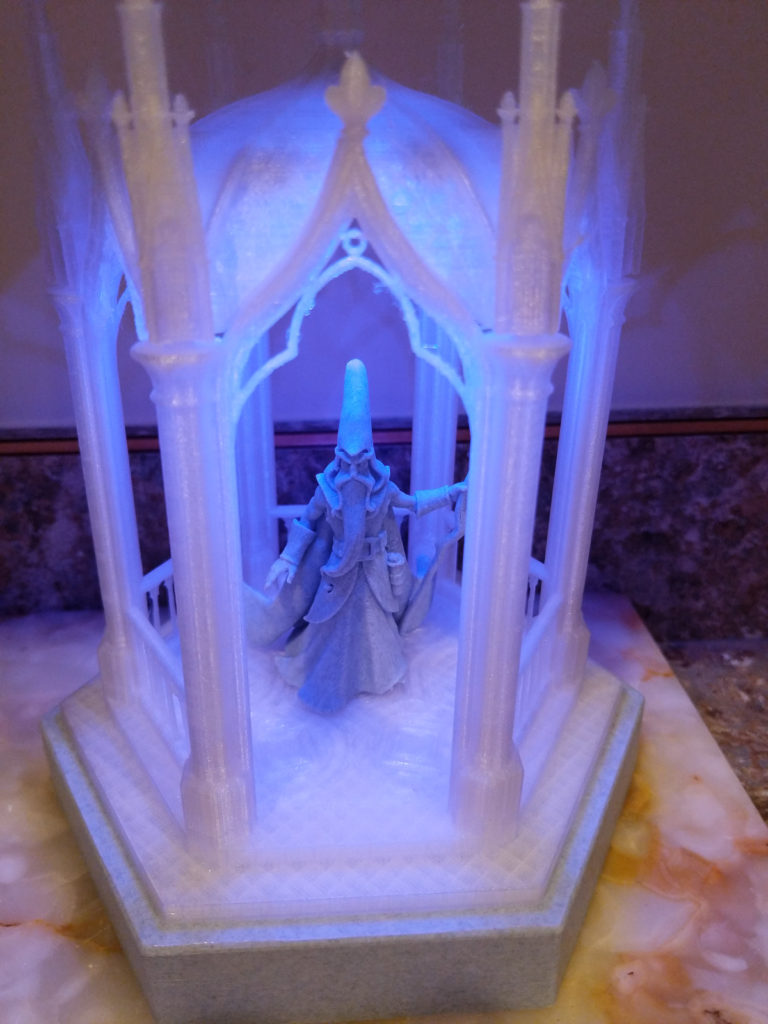
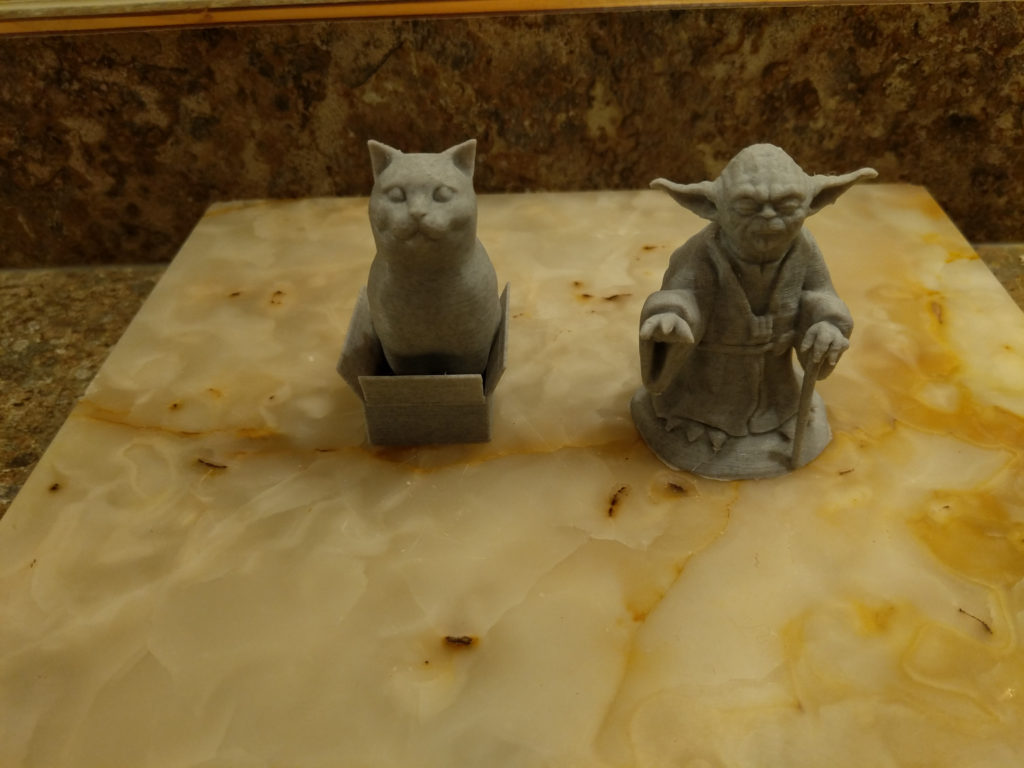
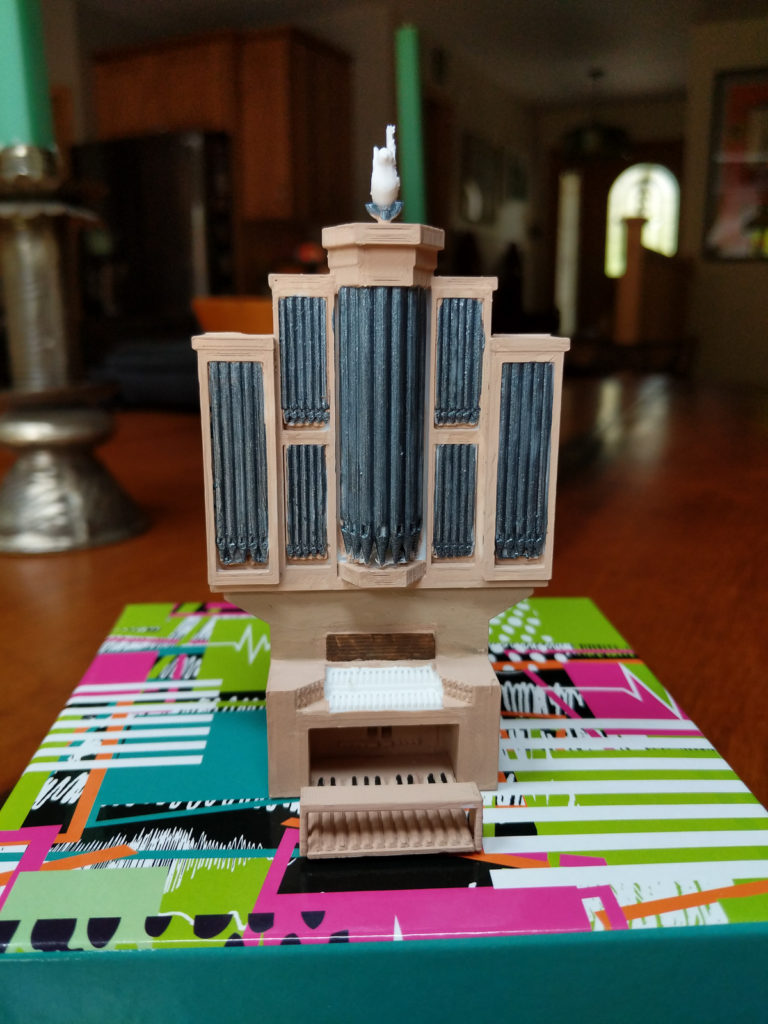
Some 3D printing projects for the Midland UCC Auction
A baby PhoenixObservatory MountainA Gazebo with a Neopixel light show built inAnd Yoda and Cat – small pieces, just for funPipe Organ – printed for Ed Soehnlen’s retirement as UCC Midland organist.
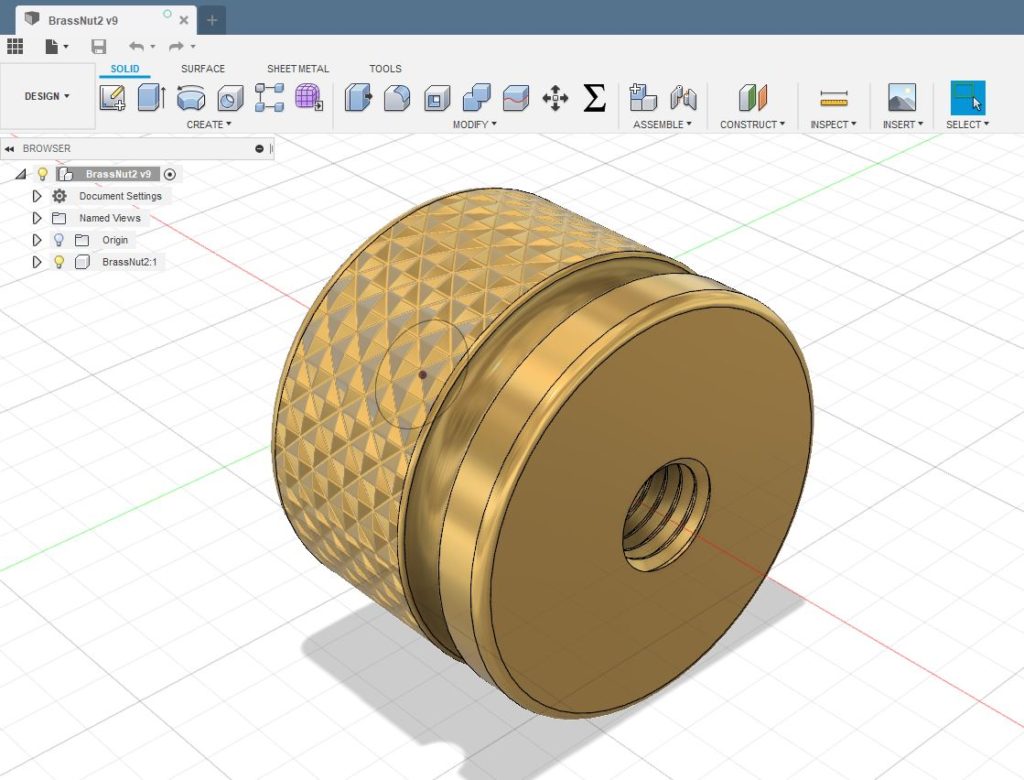
One of the members of the Midland Woodworkers has a tool with an adjusting nut that is too small to tighten successfully by hand. 5mm thread. I thought it might be a good lathe project. First I modeled it up in Fusion just for fun
3-D model in Fusion 360
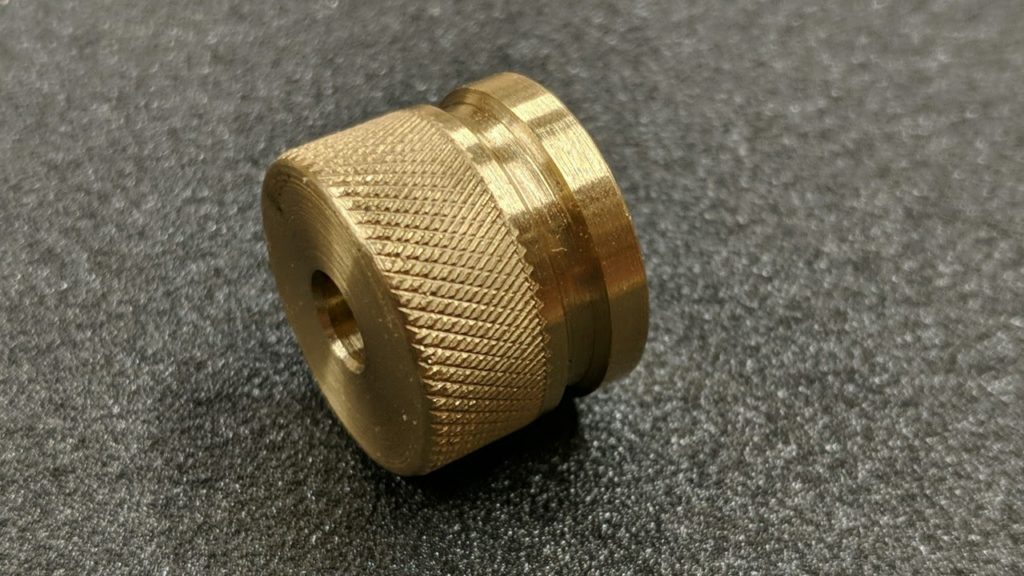
Then I got some brass and went to work. Here is the result – this is the second try. I did not like the proportions of the first one.
I’ve gotten pretty good at printing stuff from existing designs – Thingiverse stuff – but I decided it was time to try printing something I designed myself.
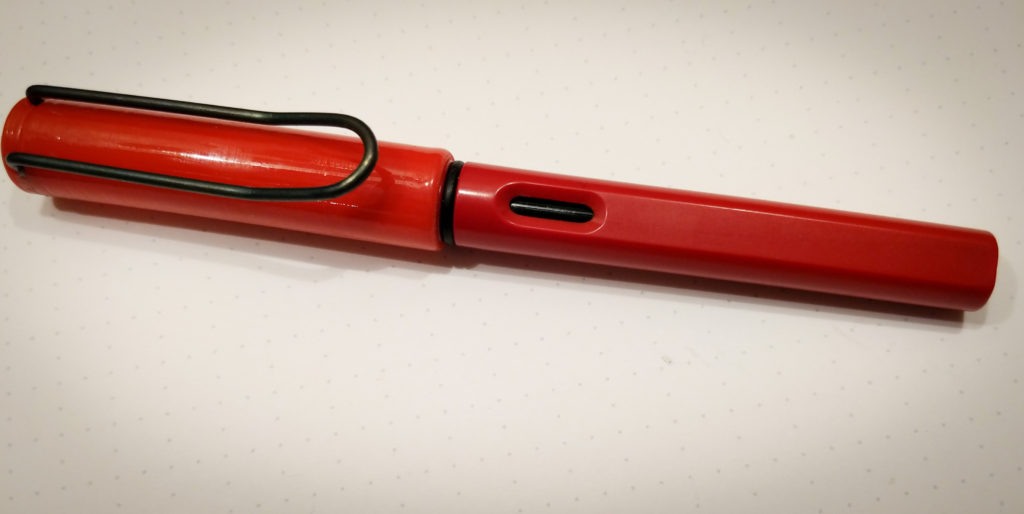
I had a favorite fountain pen that I hadn’t been able to use because I lost the cap. Options were to buy a new pen just for the cap, try to find an official replacement ( which would probably cost as much as the pen) or find a Chinese clone and buy it for the cap.
Then it occurred to me that I could probably print it. It’s just a capped hollow cylinder after all. How hard could it be? Depends on how well the 3D printer can hold the tolerances I guess; we don’t want a cap that is too loose or too tight.
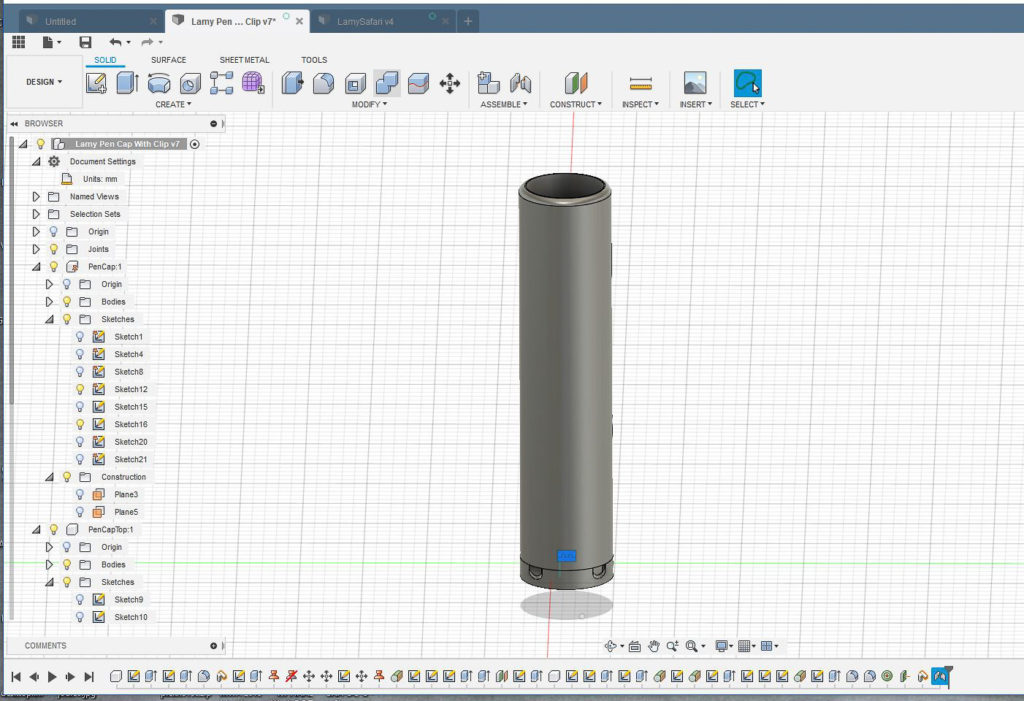
I had completed a Fusion 360 tutorial just long enough ago to have forgotten just about everything I knew, but I was able to create the hollow cylinder, and after a few learnings about infill percentages and supports, print it successfully.
Prints failed at 100% infill – success @ 20%
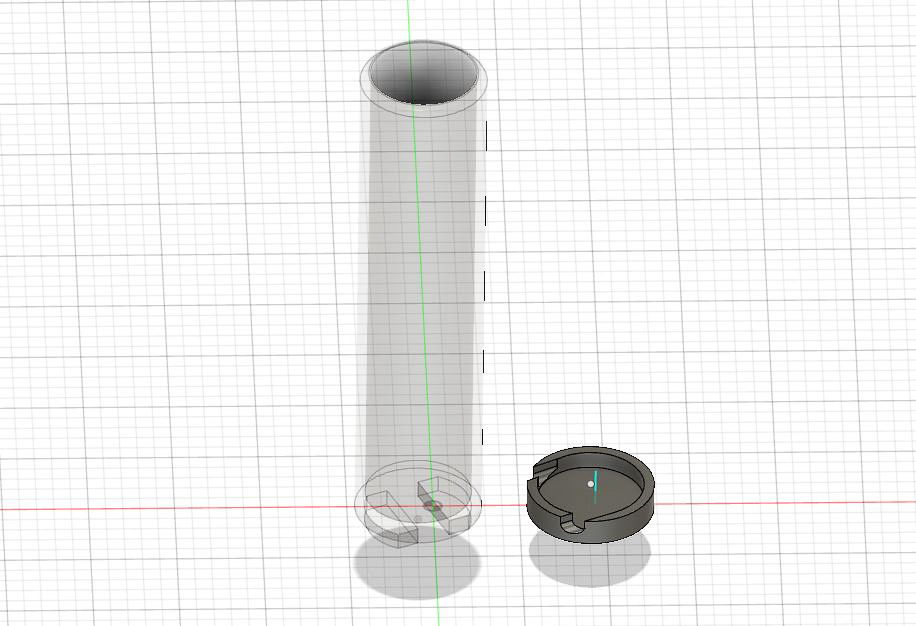
Encouraged by success, I decided to go for an actual replica – cap with pocket clip. Now I had some real CAD work to do.
Cap with two components – the cylinder with features to hold the pen clip and a top that snaps over that. Like that.
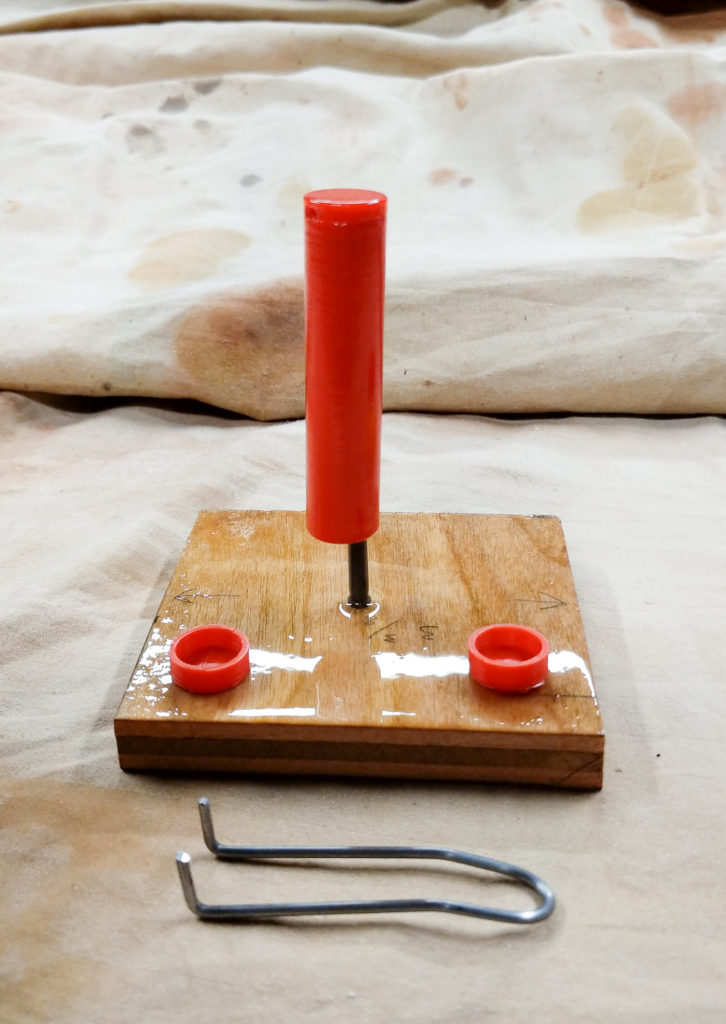
After a few attempts, I got it. Fashioned the clip from coat hanger wire, blacked with heat and vegetable oil.
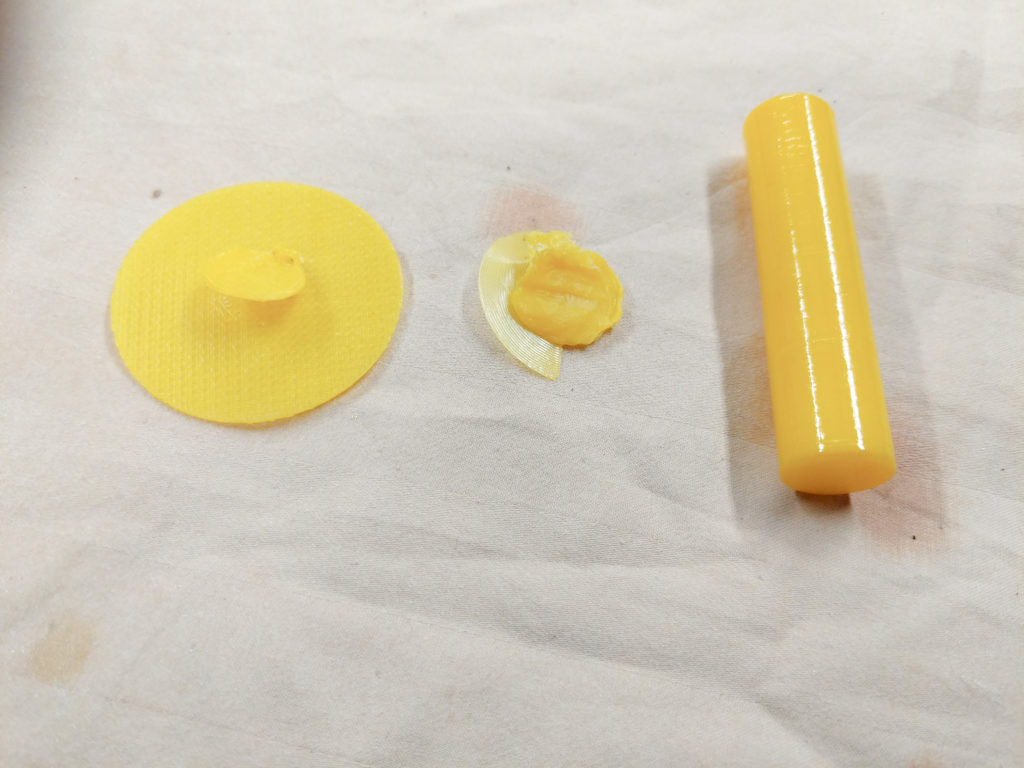
Here are the parts – the cylinder is sanded and coated with acrylic spray. There are a couple of extra top experiments in the picture.
Here is the finished product – not to bad.
A few caveats. This is not meant to be an exact replacement. It’s just an attempt to get the pen back into service. This cap does not snap on like the original – it’s just a friction fit. Obviously the color match is not perfect. And I don’t have any idea how durable it will be. But it was a good first design experience, and the pen is back to work.
OK, so I gave in to Black Friday madness and found an irresistible deal on a 3D printer. I “needed” one for a project I’m working on, so how could I refuse? Of course, 3D printing is based on the Gillette model, so it’s not the cost of the printer, it’s the consumables and upgrades that will get you. Here is the assembly and first print.
After printing the test model doggie that came with the printer I printed a couple of “Benchy’s” and a Tardis. Benchy is the little boat that you always see in 3D printer ads. I did not know that “Benchy” stands for benchmark, and that it is actually a very precise model used to test 3D printers. My printer is quite accurate dimensionally, but print quality is another matter. There is a lot of trial and error in finding the “goldilocks” zone for literally hundreds of settings. Most important are speed and temperature. My shop is pretty cold at this time of year, and I found that the recommended temps were not working for me. A little hotter and Bob’s your Uncle.
It’s really a quite amazing process. The CAM portion is the design of a 3D model – either from someone else – Thingiverse, your own – from a CAD program like Sketchup or Fusion 460, or from a 3D scan. The CAM part is a “slicing” program that defines the layers and tool paths for the printer. This includes controlling extrusion vs movement without extruding, with code and settings to turn turn things on and off precisely. The output of the slicer is G-code, which is what the printer likes to eat. It is, after all, a 3 axis CNC machine moving an extruder that spits out a string of plastic when it’s told to.
I’m using Octoprint on an old netbook computer. Octoprint is a control program that is also a web server, so you can control and monitor your printer from anywhere on your network. You could expose it to the internet, but having the bad guys take control of your printer could get your house burned down, so we won’t be doing that.
Oh, by the way, on this home gamer equipment, the process is pretty slow. Test doggie took about five hours to print. That’s why remote monitoring is nice, The issue is that the longer it takes, the more time there is for something to go wrong. This requires patience and a Zen attitude.
So far I’m using the “easiest” plastic – PLA- which is relatively low temp and very low shrinkage. The downside is that it’s quite brittle. I’d like to use ABS – the stuff Legos are made from – but it is higher temp and needs a controlled, warm environment to avoid issues with it’s greater shrinkage. But if you can get it right it’s a lot more rugged.
It’s easy to get sucked in to buying tons of material to get a lot of colors, but I’m trying to resist. The stuff is typically sold in 1 kg rolls, which is enough for at least 500 models of the size I’m printing.
Next steps include building some of my own models. I’ll need to recover my rudimentary Fusion 360 skills.
Here’s the latest. I’m starting to get things dialed in.
Video from the Campark V20 Action Cam – a GoPro clone, and the drone. Also a few stills. This is the long version – a one minute version was posted to Instagram.
I cobbled a mount for the camera from an old smart phone car mount and the mounting hardware included with the action cam. Stuck it to the windshield of the UTV. Lots of vibration at idle, but when you are underway – plowing in this case – the stabilization setting of the camera works pretty well.
I supported a KickStarter campaign for a device called Arsenal, which is a camera accessory that is supposed to help evaluate a scene and come up with an exposure plan. The kindest thing I can say at this point is that it is a work in progress, but one of the things it does is take multiple photos for High Dynamic Range photography. The theory is that you take average, under exposed and over exposed images of the same scene and then stack them (in software).
I played a bit, and then took my own set of shots at sunrise. I used Adobe Lightroom to stack and then process the images.
So, this is normal exposure.
Here’s over
And here is under
Finally here is the result after stacking and some processing in Lightroom. Mostly a gradient filter to darken the sky relative to the forground.
Not too bad for a first attempt. You can see how each exposure contributes to the result I’ve been watching a Lightroom tutorial on Youtube, and I think I’m beginning to get the hang of it.