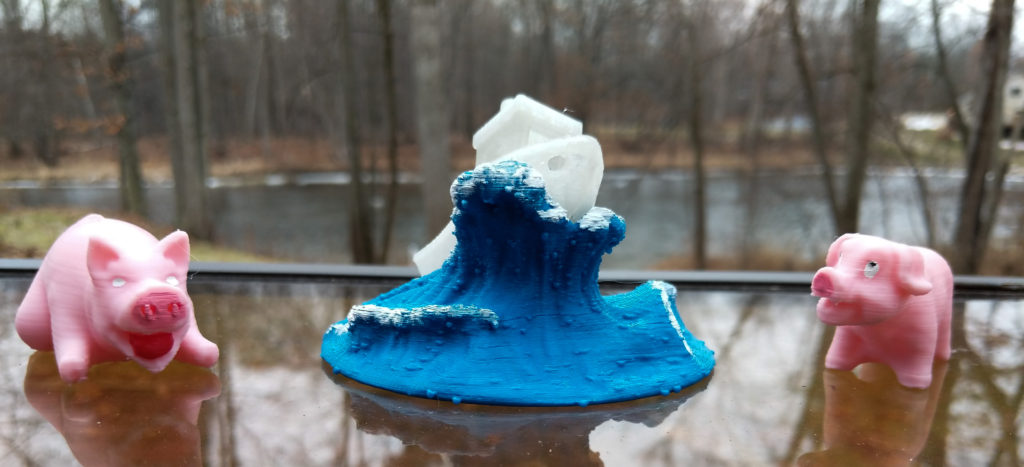
OK, so I gave in to Black Friday madness and found an irresistible deal on a 3D printer. I “needed” one for a project I’m working on, so how could I refuse? Of course, 3D printing is based on the Gillette model, so it’s not the cost of the printer, it’s the consumables and upgrades that will get you. Here is the assembly and first print.
After printing the test model doggie that came with the printer I printed a couple of “Benchy’s” and a Tardis. Benchy is the little boat that you always see in 3D printer ads. I did not know that “Benchy” stands for benchmark, and that it is actually a very precise model used to test 3D printers. My printer is quite accurate dimensionally, but print quality is another matter. There is a lot of trial and error in finding the “goldilocks” zone for literally hundreds of settings. Most important are speed and temperature. My shop is pretty cold at this time of year, and I found that the recommended temps were not working for me. A little hotter and Bob’s your Uncle.
It’s really a quite amazing process. The CAM portion is the design of a 3D model – either from someone else – Thingiverse, your own – from a CAD program like Sketchup or Fusion 460, or from a 3D scan. The CAM part is a “slicing” program that defines the layers and tool paths for the printer. This includes controlling extrusion vs movement without extruding, with code and settings to turn turn things on and off precisely. The output of the slicer is G-code, which is what the printer likes to eat. It is, after all, a 3 axis CNC machine moving an extruder that spits out a string of plastic when it’s told to.
I’m using Octoprint on an old netbook computer. Octoprint is a control program that is also a web server, so you can control and monitor your printer from anywhere on your network. You could expose it to the internet, but having the bad guys take control of your printer could get your house burned down, so we won’t be doing that.
Oh, by the way, on this home gamer equipment, the process is pretty slow. Test doggie took about five hours to print. That’s why remote monitoring is nice, The issue is that the longer it takes, the more time there is for something to go wrong. This requires patience and a Zen attitude.
So far I’m using the “easiest” plastic – PLA- which is relatively low temp and very low shrinkage. The downside is that it’s quite brittle. I’d like to use ABS – the stuff Legos are made from – but it is higher temp and needs a controlled, warm environment to avoid issues with it’s greater shrinkage. But if you can get it right it’s a lot more rugged.
It’s easy to get sucked in to buying tons of material to get a lot of colors, but I’m trying to resist. The stuff is typically sold in 1 kg rolls, which is enough for at least 500 models of the size I’m printing.
Next steps include building some of my own models. I’ll need to recover my rudimentary Fusion 360 skills.
Here’s the latest. I’m starting to get things dialed in.
