This is the control panel for my solar plant. It’s got a lot of exposed wiring, knife switches and analog meters to give it a bit of a steampunk look.
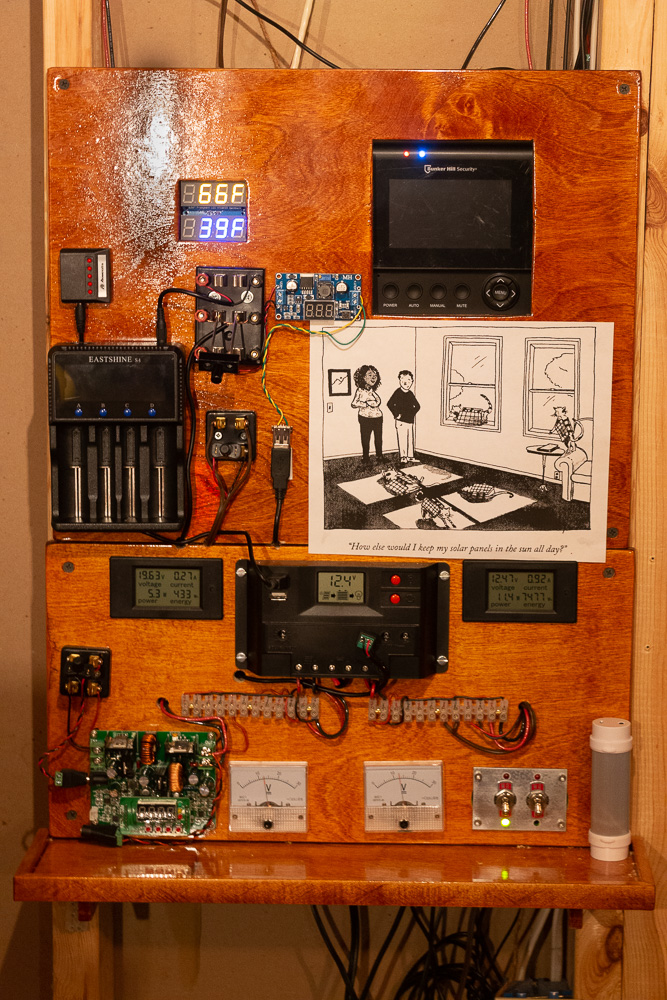
We’ll go through the top and bottom panels to explain the functions.
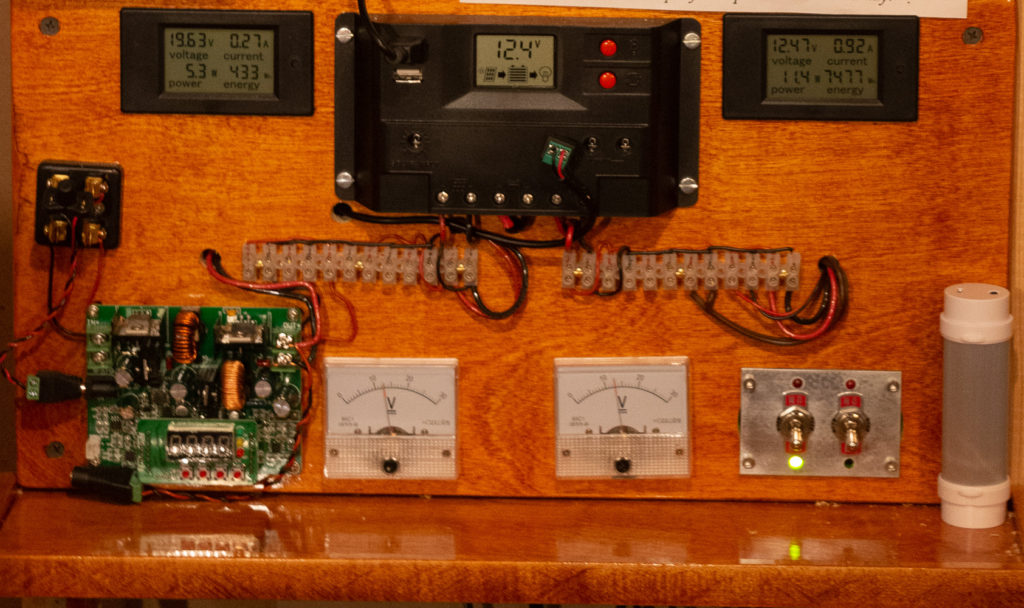
The lower panel – starting top center and going counter clockwise.
- The solar charge controller – part of the 100 watt panel kit from Harbor Freight
- Input meter – volts amps and power – reading the solar panels
- Knife switch and buck boost converter directly from the solar panels
- Analog voltmeter – input side
- Analog voltmeter – output side
- Switches for lights
- Output meter – volts, amps and power – reading the storage battery
- In the center are terminal strips for the solar side and the battery side.
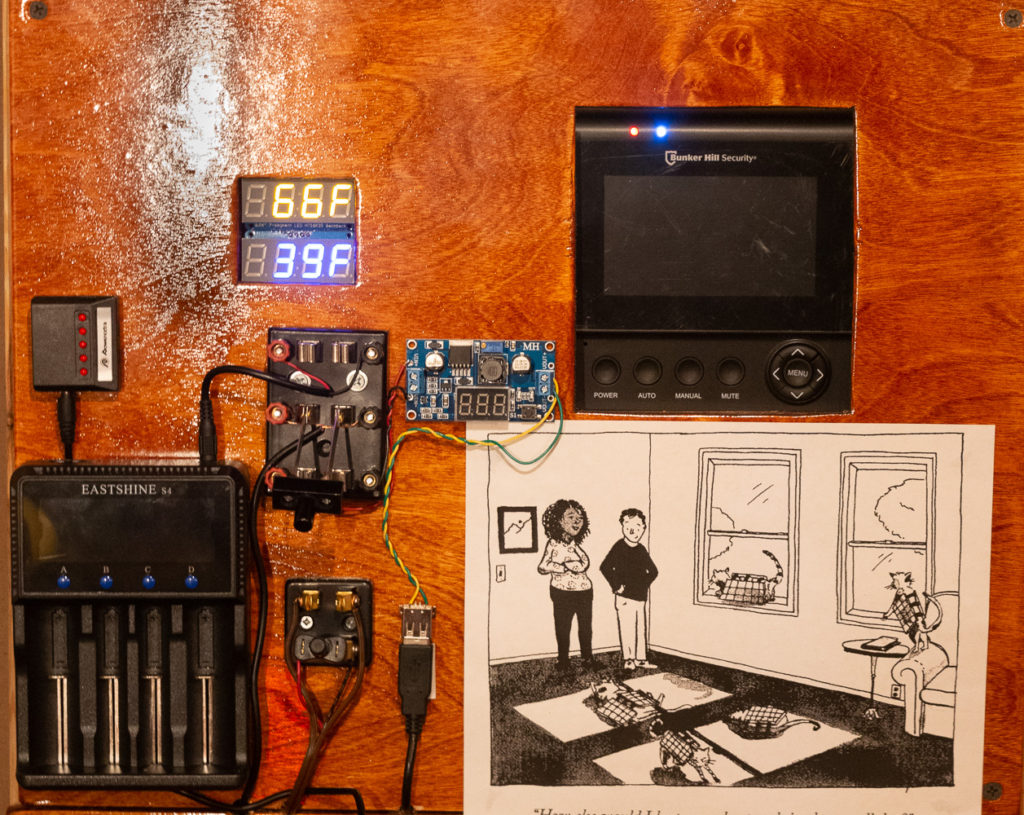
The upper panel – up and counter clockwise from the large knife switch
- The large knife switch controls the battery charger (upper position) or the buck converter (to it’s right) that runs a strip of neopixels.
- Digital display for an indoor/outdoor thermometer run by a Raspberry Pi. This computer also logs temps and emails readings twice a day
- Lipo battery charger for small batteries using 2mm JST connectors
- Battery charger for most types of rechargeable batteries
- Knife switch controlling a (solar powered) ceiling fan
- “Solar Panel Cats” cartoon
- Video monitor for a couple of cheap security cameras watching outside the room
That’s it so far. I’m sure to add more over time.